PowerPoint Morph is a new feature that launched in PowerPoint 2016 that allows you to create complex animations in almost no time.
If you’ve worked with PowerPoint animations, you know there’s no easy way to start slides where the previous animation ended. It can be done, but by using a 3rd-party plug-in in addition to hours of trial and error.
Introducing PowerPoint Morph
Microsoft introduced Morph as a new feature in Office 2016. I’ll be giving you a quick tutorial in the Mac version of Office (Downloaded with my Office 365 Subscription). On the Mac, Morph is essentially a very powerful transition, though everything should be similar to the Windows version as well.
If you’ve ever used a program in the past like Adobe Flash, you’ll be familiar with the general idea of the Morph feature. Consider each PowerPoint slide as a separate keyframe, and you’ll just add the tween. If you’ve got no idea what I’m talking about, or think I’m referring to preadolescence, don’t worry, it’s not important. You won’t need any of that to use PowerPoint Morph.
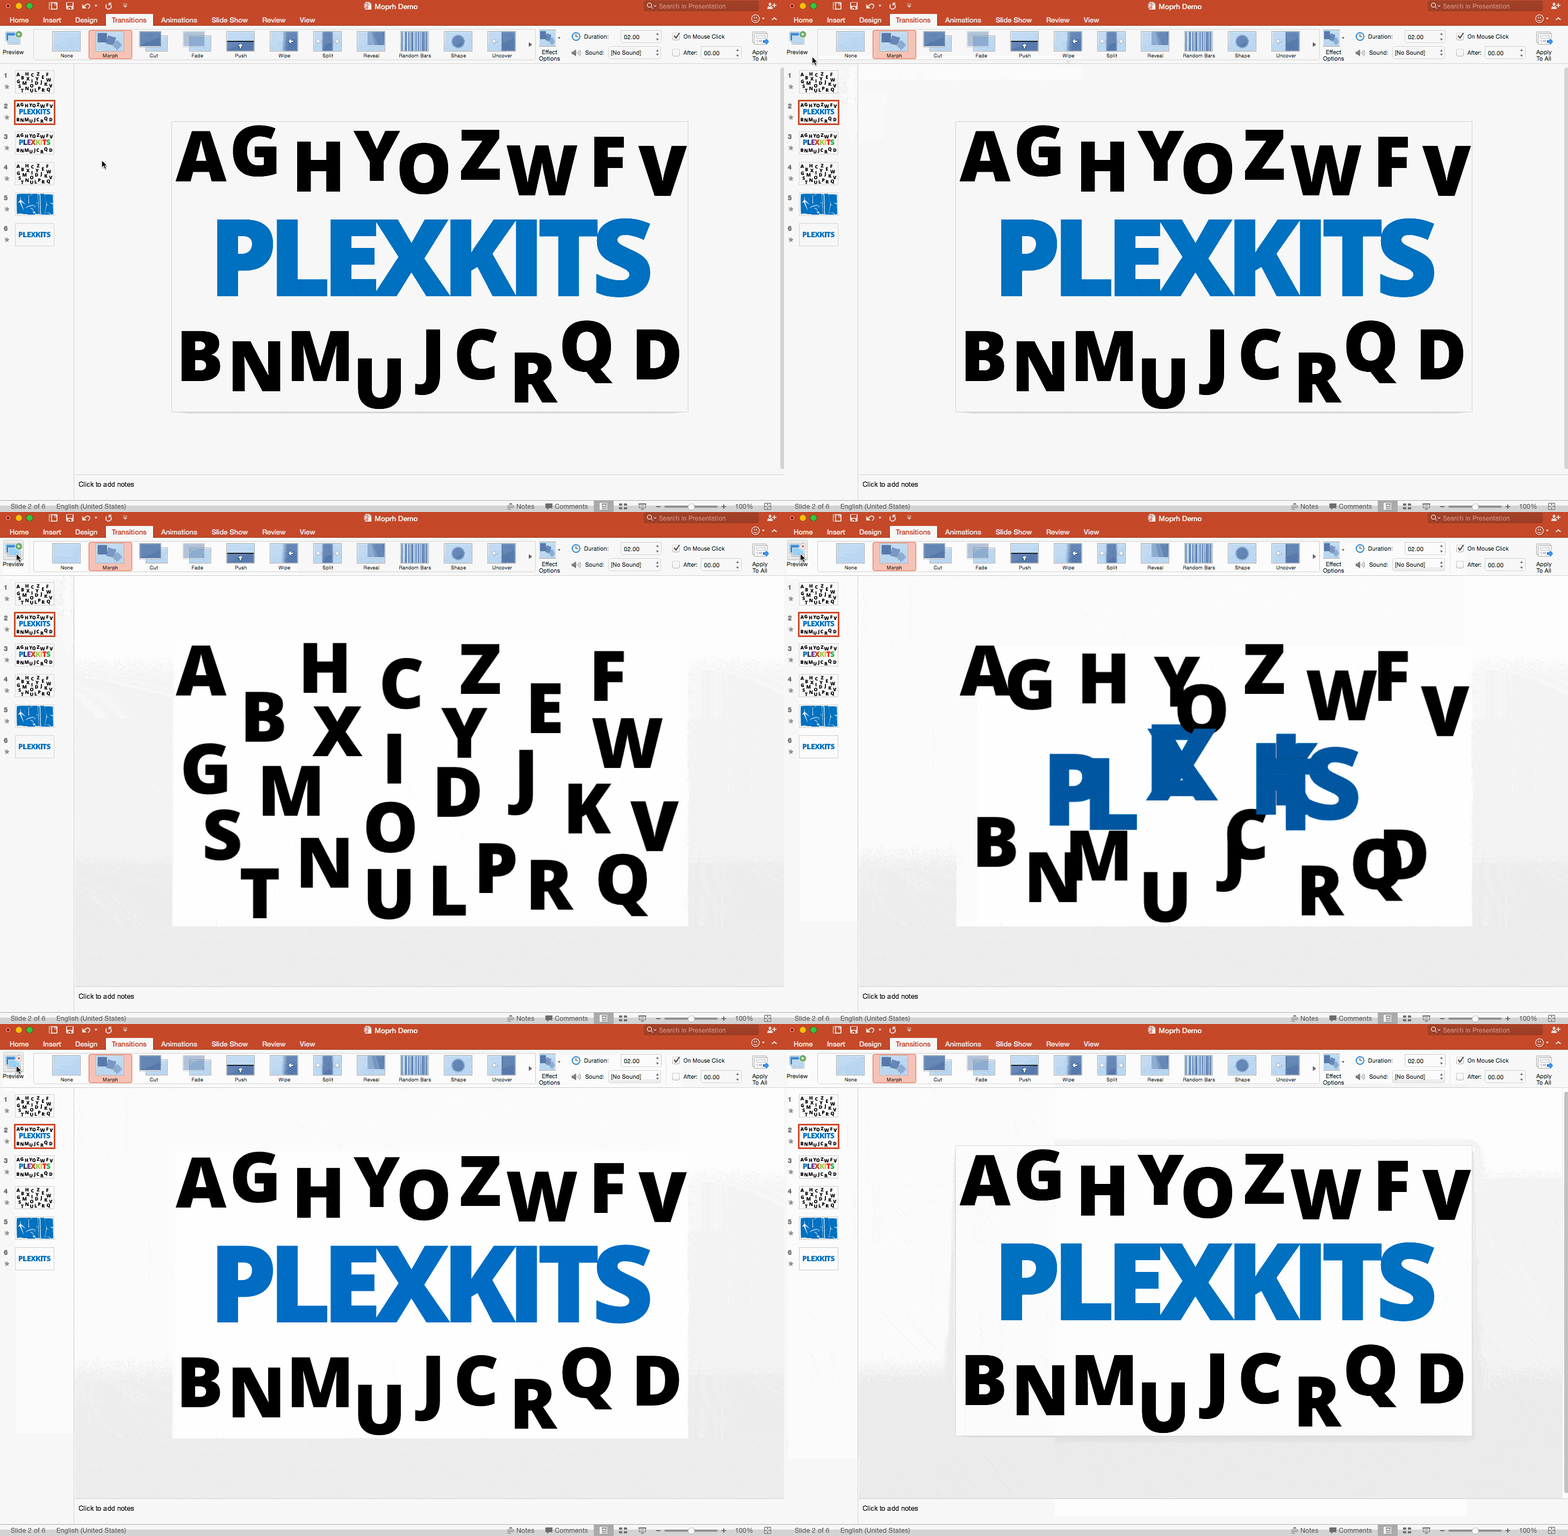
To get started, I created a simple slide of all the letters in the Alphabet. I wasn’t exactly sure what I was going to do when I started but quickly realized that this would be an excellent time for a quick PLEXKITS plug! I duplicated the slide and separated all the letter of P-L-E-X-K-I-T-S and made them stand out in the center. After you’ve made the changes to your duplicated slide, go up to the transition menu with the second slide in your desired morph, and click the Morph option.

You should instantly see a preview of the Morph, but if you don’t (like I didn’t) just click the preview button to the left. Pretty crazy right? PowerPoint automatically animates the two slides with a fancy yet smooth transition.

Changing Colors with PowerPoint Morph
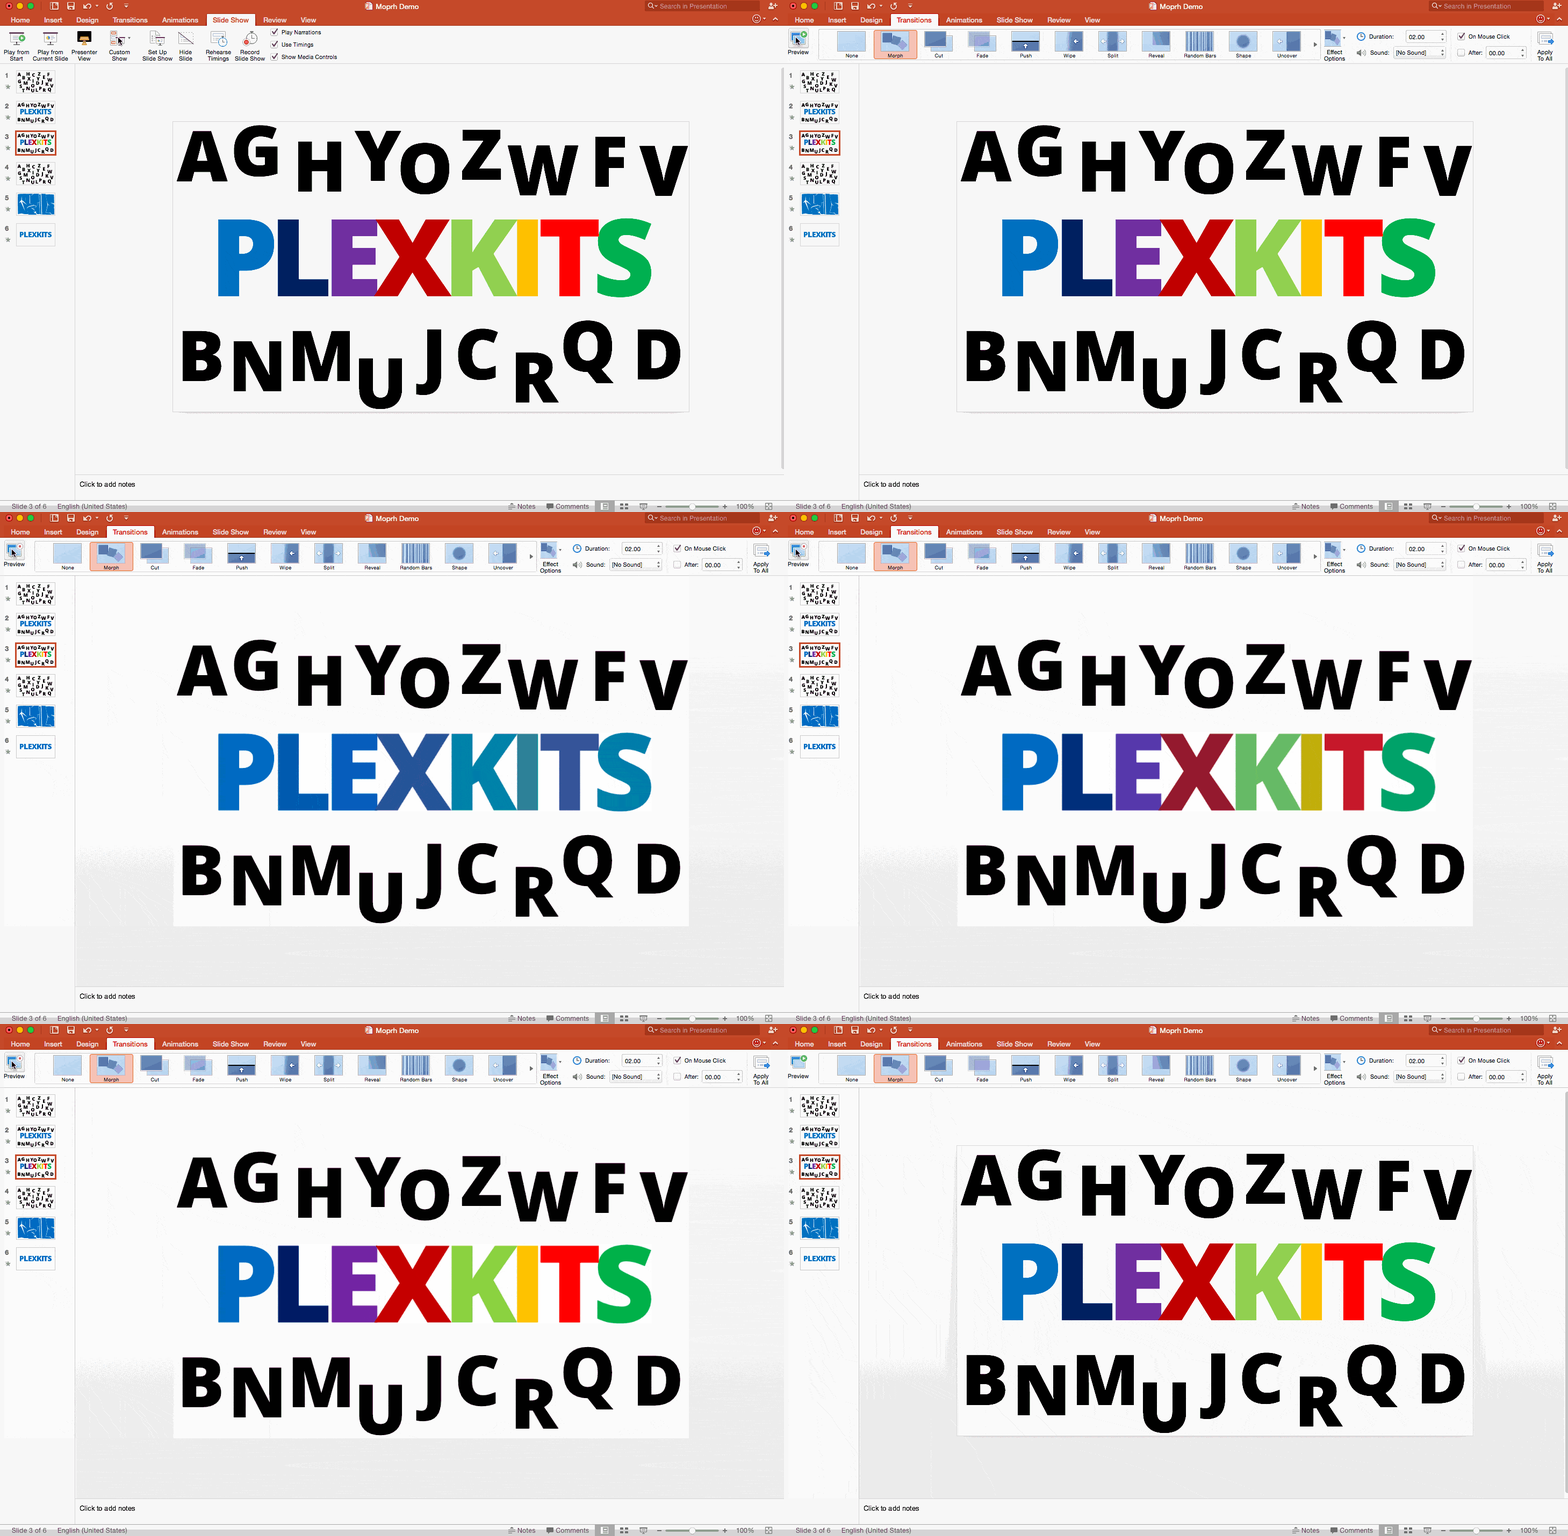
You can see that Morph automatically moves the letters to their proper spot in the next PowerPoint slide, but that’s just the tip of the iceberg. For one thing, you can adjust things like the colors very easily too. Just, change the color and make sure you enable the Morph transition on the slide.

Now, this is still just a fraction of what you’re capable of creating if you put your mind to it. Just as some quick inspiration, here’s an example of what you can do with shapes.
Shapes to Text in PowerPoint Morph
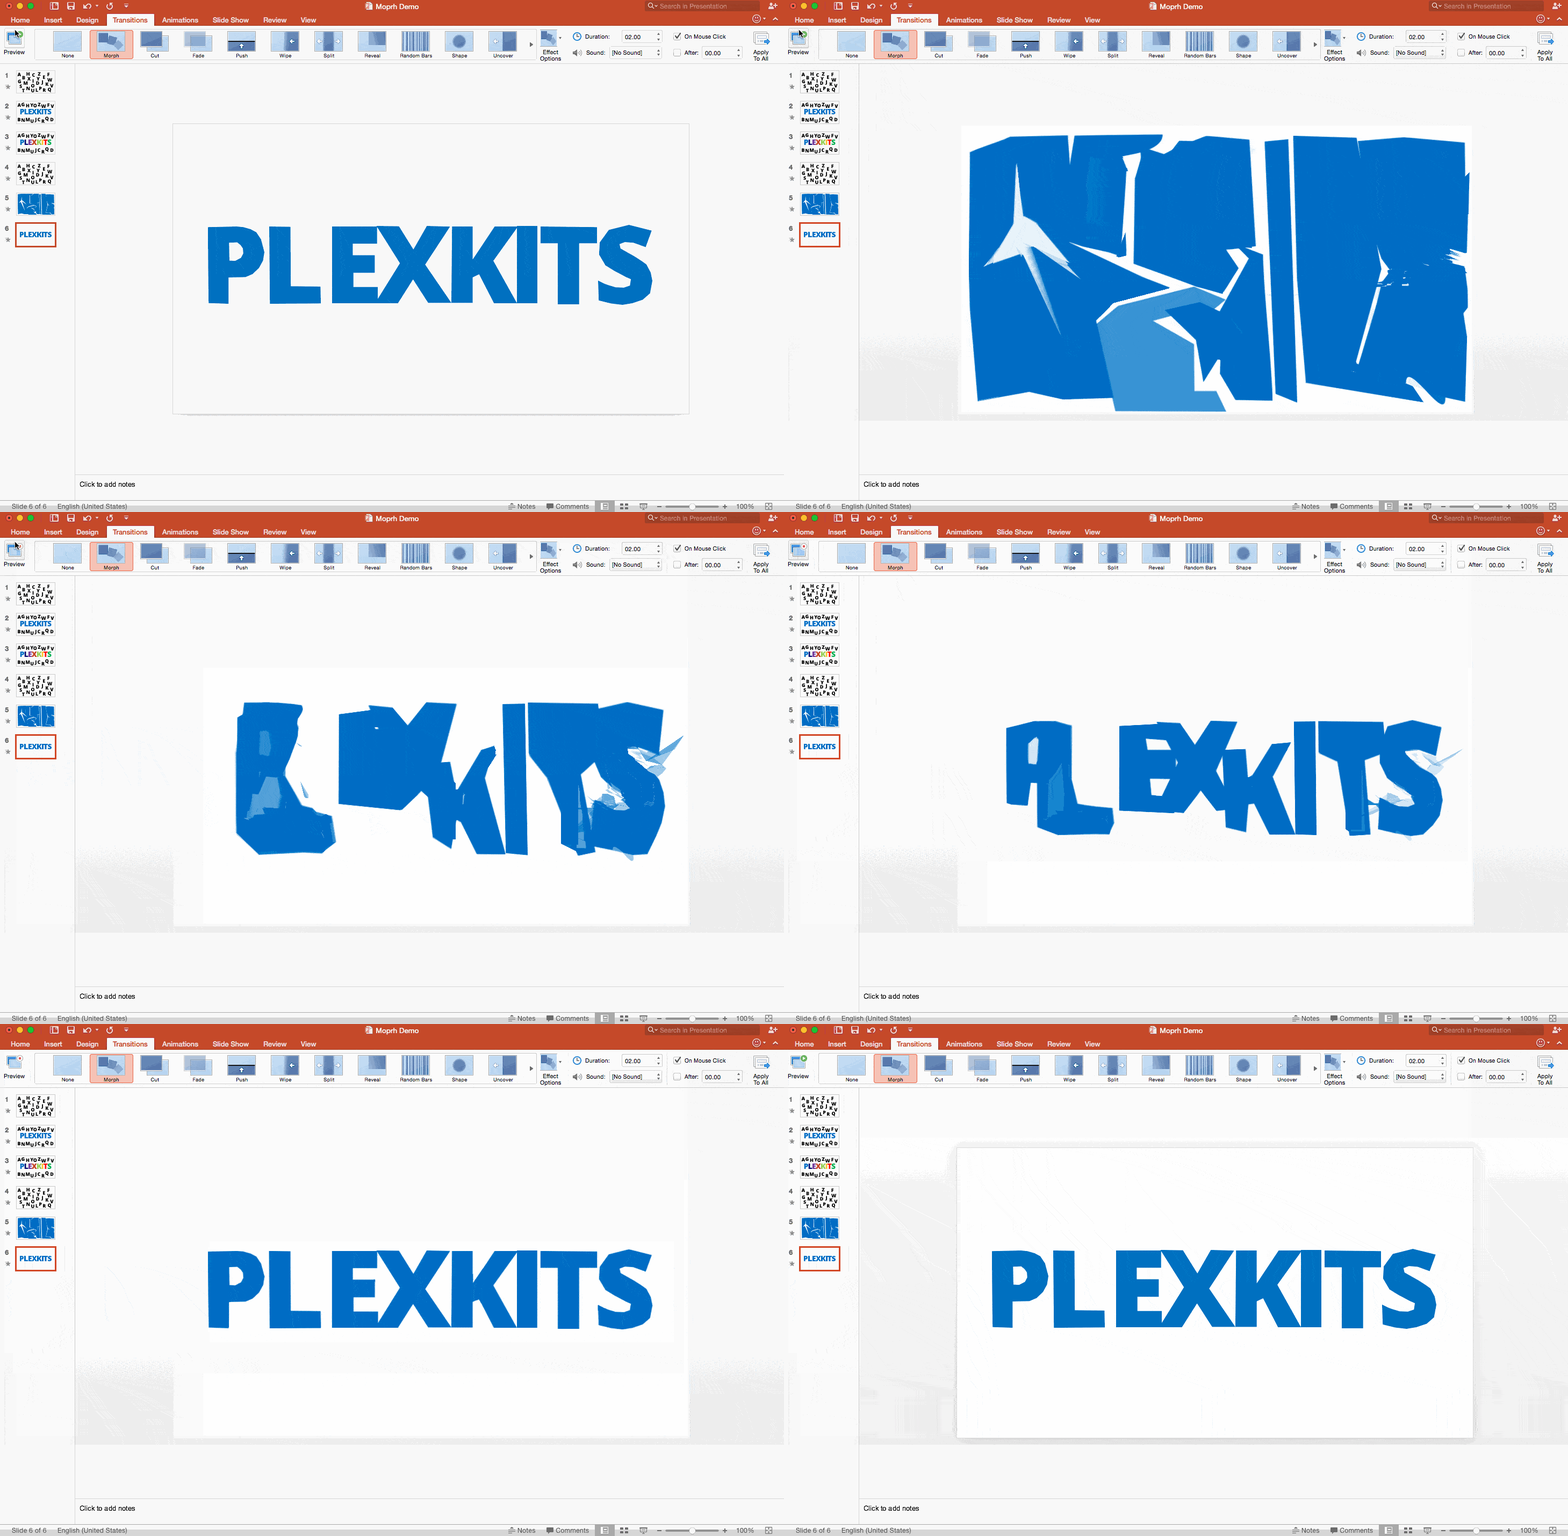
First, I started with the word PLEXKITS on a slide and then duplicated the slide. I edited all the points to make a PowerPoint shape that fills up most of the screen. I decided to put this slide at the beginning, so I changed the order and then added the Morph transition to the last slide. Just like that, we have another crazy animation created so easily. If you didn’t need PowerPoint 2016 to view, I’d be adding some Morph Animations to all our PowerPoint Templates.

You can see that with a bit of effort, you could create some insanely creative animations with PowerPoint Morph. Once you’ve had a chance to play around, feel free to share your designs with us, and we’ll gladly share the best ones! If you have any questions, please leave them in the comments below.
5 thoughts on “PowerPoint Morph: How to Use the Powerful New Feature”
Awesome! This is really cool, I’ll have to try it out.
Thanks Vish! It’s a pretty cool feature and definitely saves some time, especially if you are creating interactive presentations.
cool but in my 2016 morph missing.
how can i use this?
It looks like it’s only available if you have a 365 subscription so far. I’m guessing it will be included in the standalone version on the next major update.
Because you have to install power point 2019.